16 min read
A proper game stuttering fix starts with understanding one thing most guides get wrong: your FPS counter is lying to you. Not technically — it shows exactly how many frames your GPU rendered in the last second. But that number tells you nothing about how those frames were delivered. A game running at 120 FPS can feel worse than one locked at 60, and until you understand why, you will keep chasing the wrong solutions.
This is the guide that covers everything — from five-minute quick wins to deep system-level changes that most articles never mention. Every fix here is something I have tested, something real players have confirmed works, or something backed by documentation from NVIDIA, AMD, or Microsoft. If your PC games stutter, hitch, or feel “off” despite healthy frame rates, you are in the right place.
Why Your Game Stutters at High FPS
The short answer: uneven frame timing.
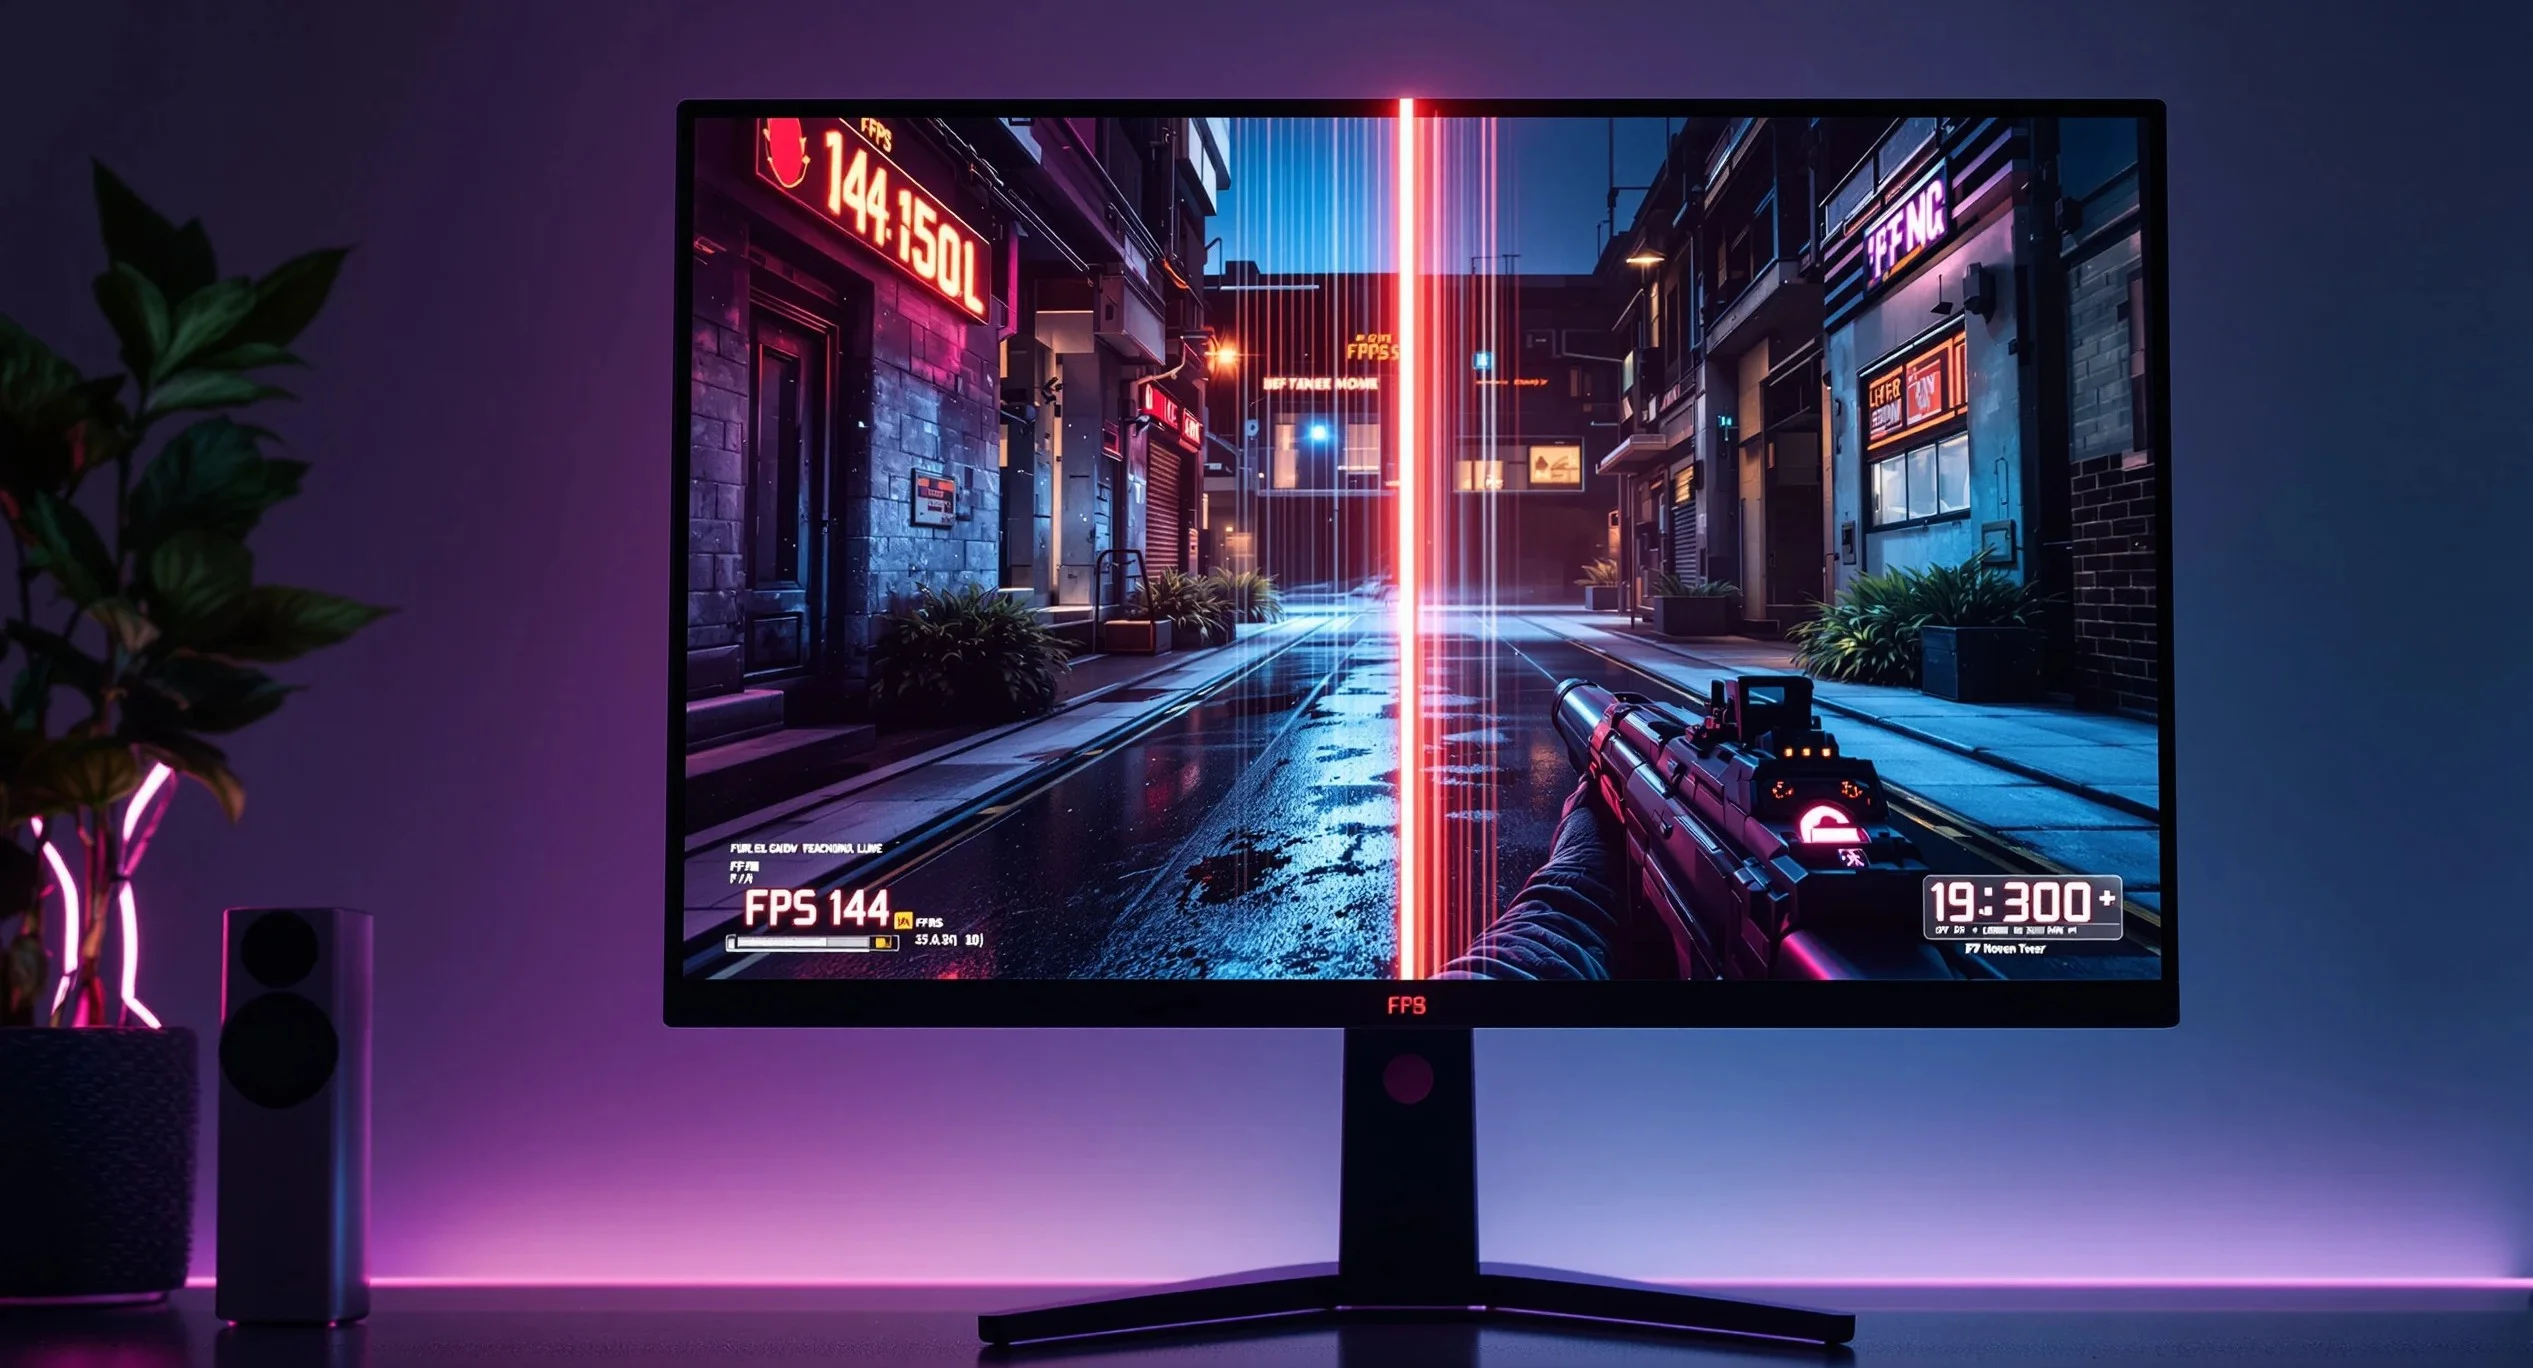
Your monitor expects a new frame at a fixed interval. At 144Hz, that interval is 6.94 milliseconds. When your GPU delivers frames at inconsistent intervals — say 4ms, then 12ms, then 5ms, then 15ms — your eyes register those longer gaps as stutters, even though the average FPS looks fine.
This is called frame pacing, and it is the single most important concept in smooth PC gaming. Frame rate measures throughput. Frame time measures consistency. You need both, but consistency matters more for how a game actually feels.
Three things cause bad frame pacing:
The GPU produces frames faster than your display can show them. Without any sync mechanism, excess frames either queue up (adding latency) or get discarded mid-scan (causing tearing). Both feel terrible.
The CPU cannot keep up with the GPU. Your GPU finishes a frame and waits for the next draw call from the CPU. That wait introduces frame time variance. This is the classic CPU bottleneck, and it shows up as periodic hitches rather than consistently low FPS.
Something external interrupts the render pipeline. Background processes, shader compilation, asset streaming from a slow drive, thermal throttling, or a badly behaved overlay — anything that steals CPU time or GPU time for even a few milliseconds creates visible stutters.
The Quick Game Stuttering Fix List (Under 10 Minutes)
Start here. These solve the problem for roughly 60-70% of players who experience stuttering.
Cap Your Frame Rate Properly
This is the single most effective game stuttering fix for the majority of players, and it takes thirty seconds.
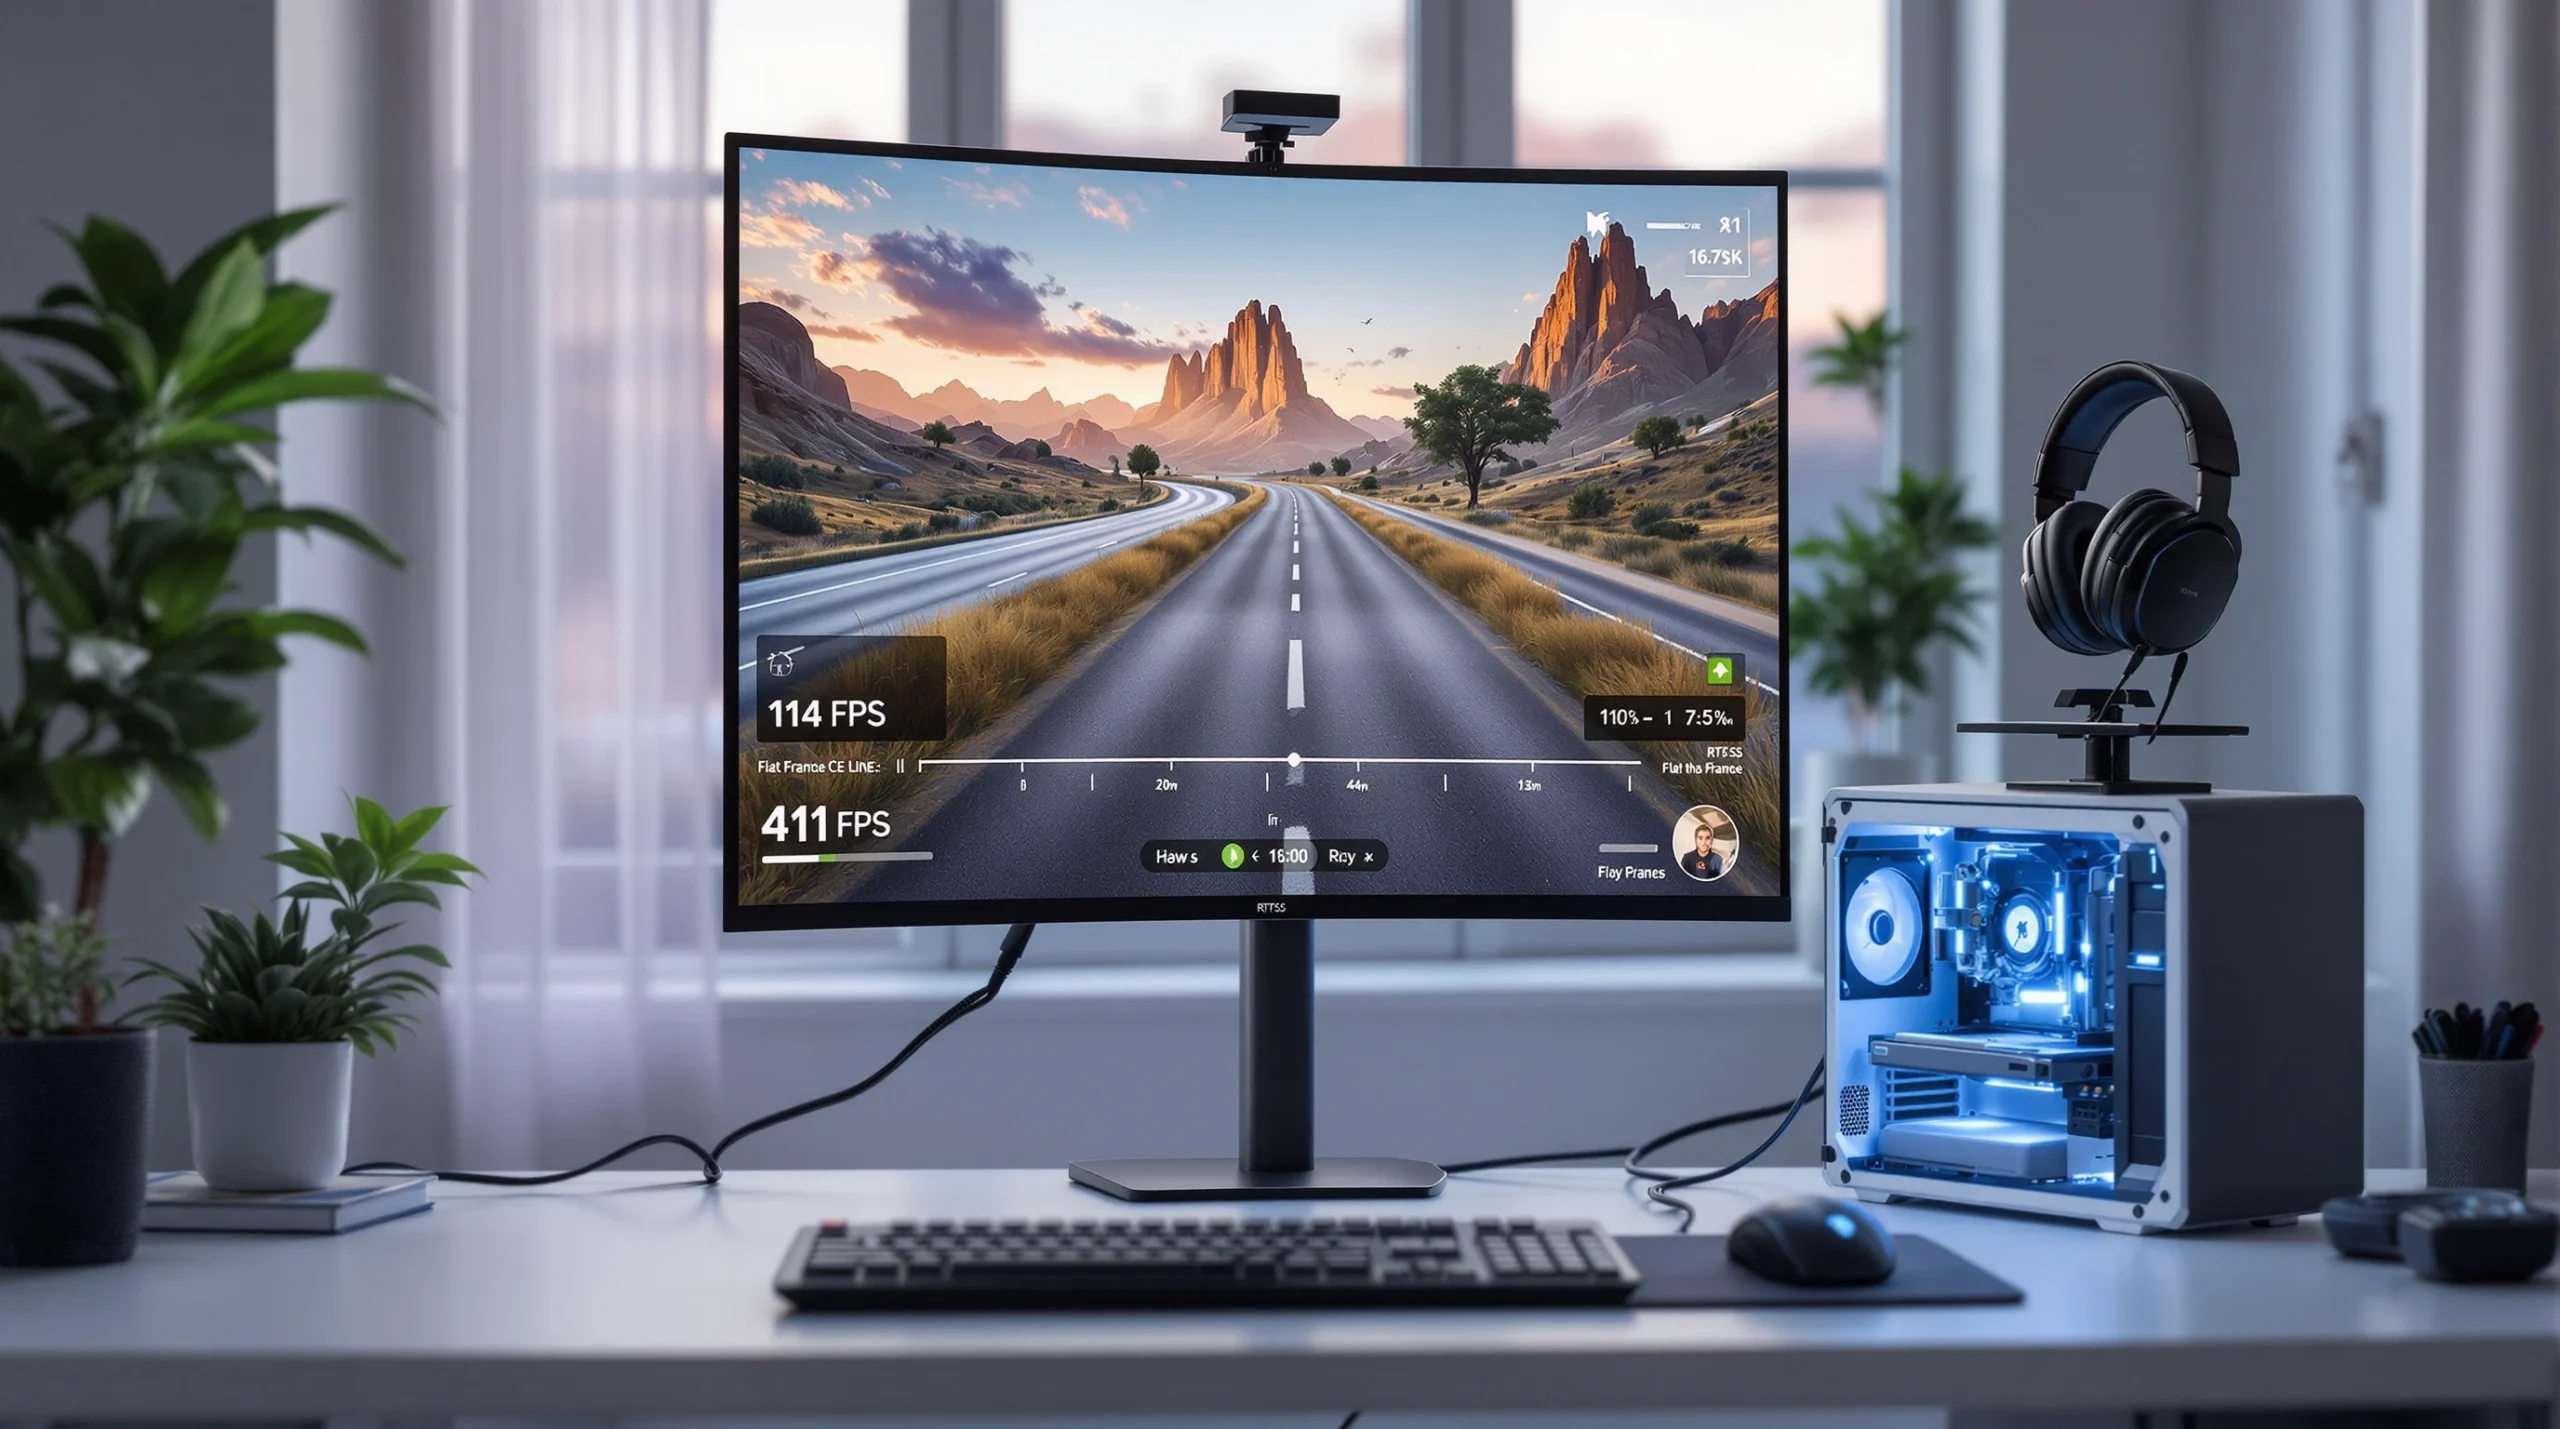
Cap your FPS at 3 below your monitor’s refresh rate. For a 144Hz monitor, cap at 141. For 60Hz, cap at 57. For 240Hz, cap at 237.
Why 3 below? Because it keeps your frame rate inside the adaptive sync range (G-Sync or FreeSync) at all times. If your frame rate hits or exceeds your refresh rate, adaptive sync disengages and you get tearing or uneven frame pacing.
The best tool for this is RTSS (RivaTuner Statistics Server). It applies a frame cap at the driver level with tighter consistency than any in-game limiter. NVIDIA’s built-in frame limiter in the Control Panel is the second-best option. In-game limiters work but produce slightly looser frame times.
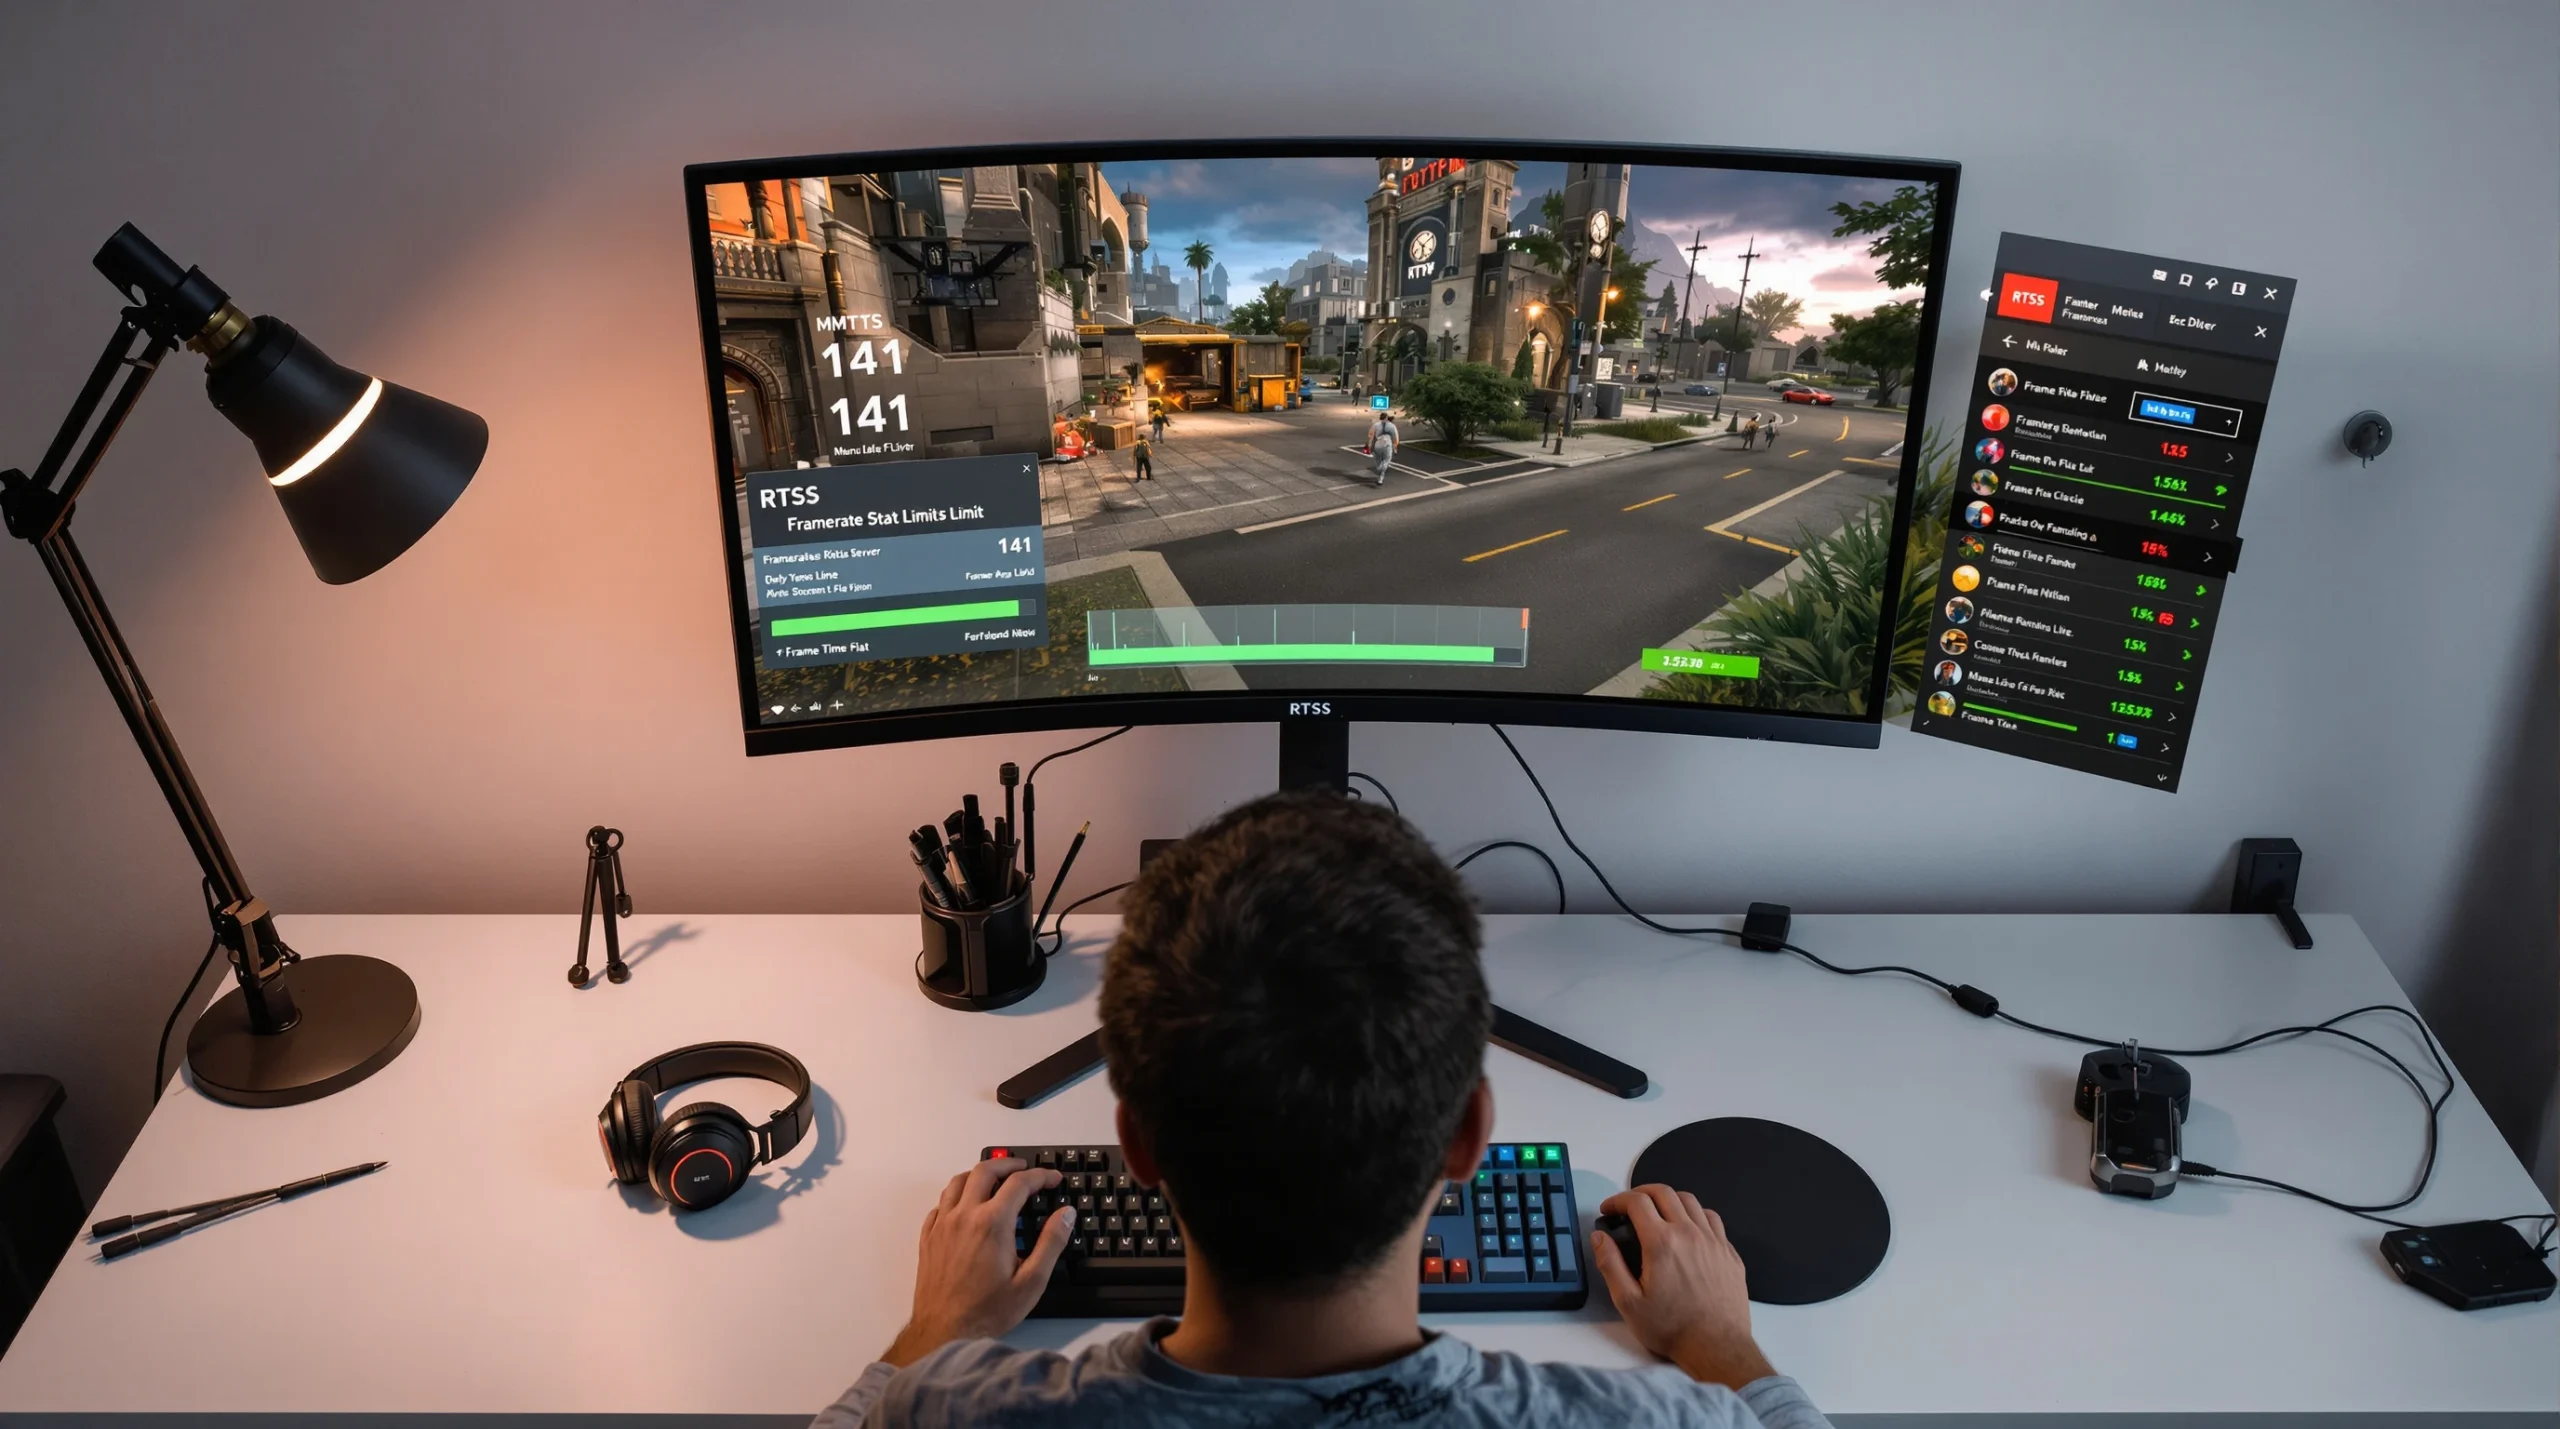
The setup: install RTSS, set your global framerate limit to your target number, and leave it running. That is it.
Enable Adaptive Sync Correctly
If you own a G-Sync or FreeSync monitor and you are not using adaptive sync, you are throwing away the easiest path to smooth gaming.
For NVIDIA (G-Sync or G-Sync Compatible):
Open NVIDIA Control Panel. Go to Display > Set up G-SYNC. Check “Enable G-SYNC, G-SYNC Compatible.” Select “Enable for windowed and full screen mode.” Then go to Manage 3D Settings > Global Settings. Set V-Sync to On (this acts as a framebuffer fallback, not traditional V-Sync — confirmed by Blur Busters testing). Set Max Frame Rate to 3 below your refresh rate. Turn off V-Sync inside every game.
For AMD (FreeSync):
Open AMD Software: Adrenalin Edition. Go to Gaming > Display. Enable AMD FreeSync. Then under Gaming > Graphics, enable Radeon Enhanced Sync (not regular V-Sync). Set FRTC (Frame Rate Target Control) to 3 below your refresh rate.
This combination — adaptive sync on, V-Sync as fallback in the driver, frame cap below refresh rate, in-game V-Sync off — is the gold standard. It eliminates tearing, prevents frame queue buildup, and keeps frame pacing tight.
Kill Background Processes That Steal CPU Time
Every background process that spikes your CPU usage — even for 10 milliseconds — can cause a visible stutter. The worst offenders:
Windows widgets and Copilot. These run JavaScript engines in the background and periodically poll for updates. Disable them: Settings > Personalization > Taskbar > toggle Widgets and Copilot off.
Xbox Game Bar. Uses 200-400 MB of RAM and adds measurable input latency. Disable it: Settings > Gaming > Xbox Game Bar > Off. Then go to Settings > Apps > Installed apps > find “Game Bar” and disable it.
Browser tabs. Chrome with 20 open tabs can consume 2-4 GB of RAM and significant CPU cycles. Close your browser before gaming, or switch to a lightweight browser for background use.
RGB software. iCUE, Armoury Crate, Synapse — these continuously poll USB devices and can cause periodic frame time spikes. Close them or set them to launch only on demand.
Windows Update. If Windows decides to download and install updates while you are gaming, the I/O and CPU usage will cause stutters. Go to Settings > Windows Update > Pause updates before a gaming session if an update is pending.

Clear Your Shader Cache
Shader compilation stutter is the most common source of hitches in modern games, especially those built on Unreal Engine 5. When your GPU encounters a new material, lighting condition, or particle effect for the first time, it compiles a shader variant on the fly. That compilation takes milliseconds, and you feel every one of them.
The fix has two parts:
First, increase your shader cache size. On NVIDIA: open NVIDIA Control Panel > Manage 3D Settings > Shader Cache Size > set to 10 GB or Unlimited. On AMD: open AMD Software > Settings > Graphics > Shader Cache is managed automatically, but you can reset it (see below).
Second, clear the corrupted cache. After driver updates, Windows updates, or game patches, your shader cache can become partially invalid. The GPU tries to use cached shaders that no longer match the current driver or game version, causing hitches.
On NVIDIA: NVIDIA Control Panel > Manage 3D Settings > Shader Cache Size > toggle it Off, hit Apply, toggle it back On, hit Apply. This forces a full rebuild.
On AMD: AMD Software > Settings > Graphics > click “Perform Reset” next to Shader Cache. Alternatively, delete the contents of C:\Users\[YourName]\AppData\Local\AMD\DxCache.
On Windows (DirectX shader cache): Settings > System > Storage > Temporary files > check “DirectX Shader Cache” > Remove files.
After clearing, launch your game and expect stutters during the first 5-15 minutes as shaders recompile. After that initial session, the cache is rebuilt cleanly and stutters should disappear.
Driver-Level Fixes
If the quick fixes did not solve your problem, the issue is likely deeper — in your GPU driver configuration, your display driver, or a conflict between Windows and your hardware.
Clean-Install Your GPU Driver with DDU
A corrupted GPU driver is responsible for more stuttering issues than most players realize. Standard driver updates install over the old driver, and leftover files, registry entries, or configuration data can cause frame time problems that no setting change will fix.
The solution is Display Driver Uninstaller (DDU), a free tool that completely removes all traces of your GPU driver.
The process: download the latest driver from NVIDIA or AMD first. Then boot into Safe Mode (hold Shift while clicking Restart > Troubleshoot > Startup Settings > Safe Mode). Run DDU, select your GPU brand, and click “Clean and restart.” After reboot, install the fresh driver. Do not let Windows Update install a generic driver first — install the one you downloaded.
This alone fixes stuttering for a surprising number of players. If you have not done a clean driver install in over six months, do it now.
NVIDIA Control Panel — The Settings That Actually Matter
Most “NVIDIA optimization guides” list 30 settings without explaining which ones affect stuttering. Here are the ones that actually impact frame pacing:
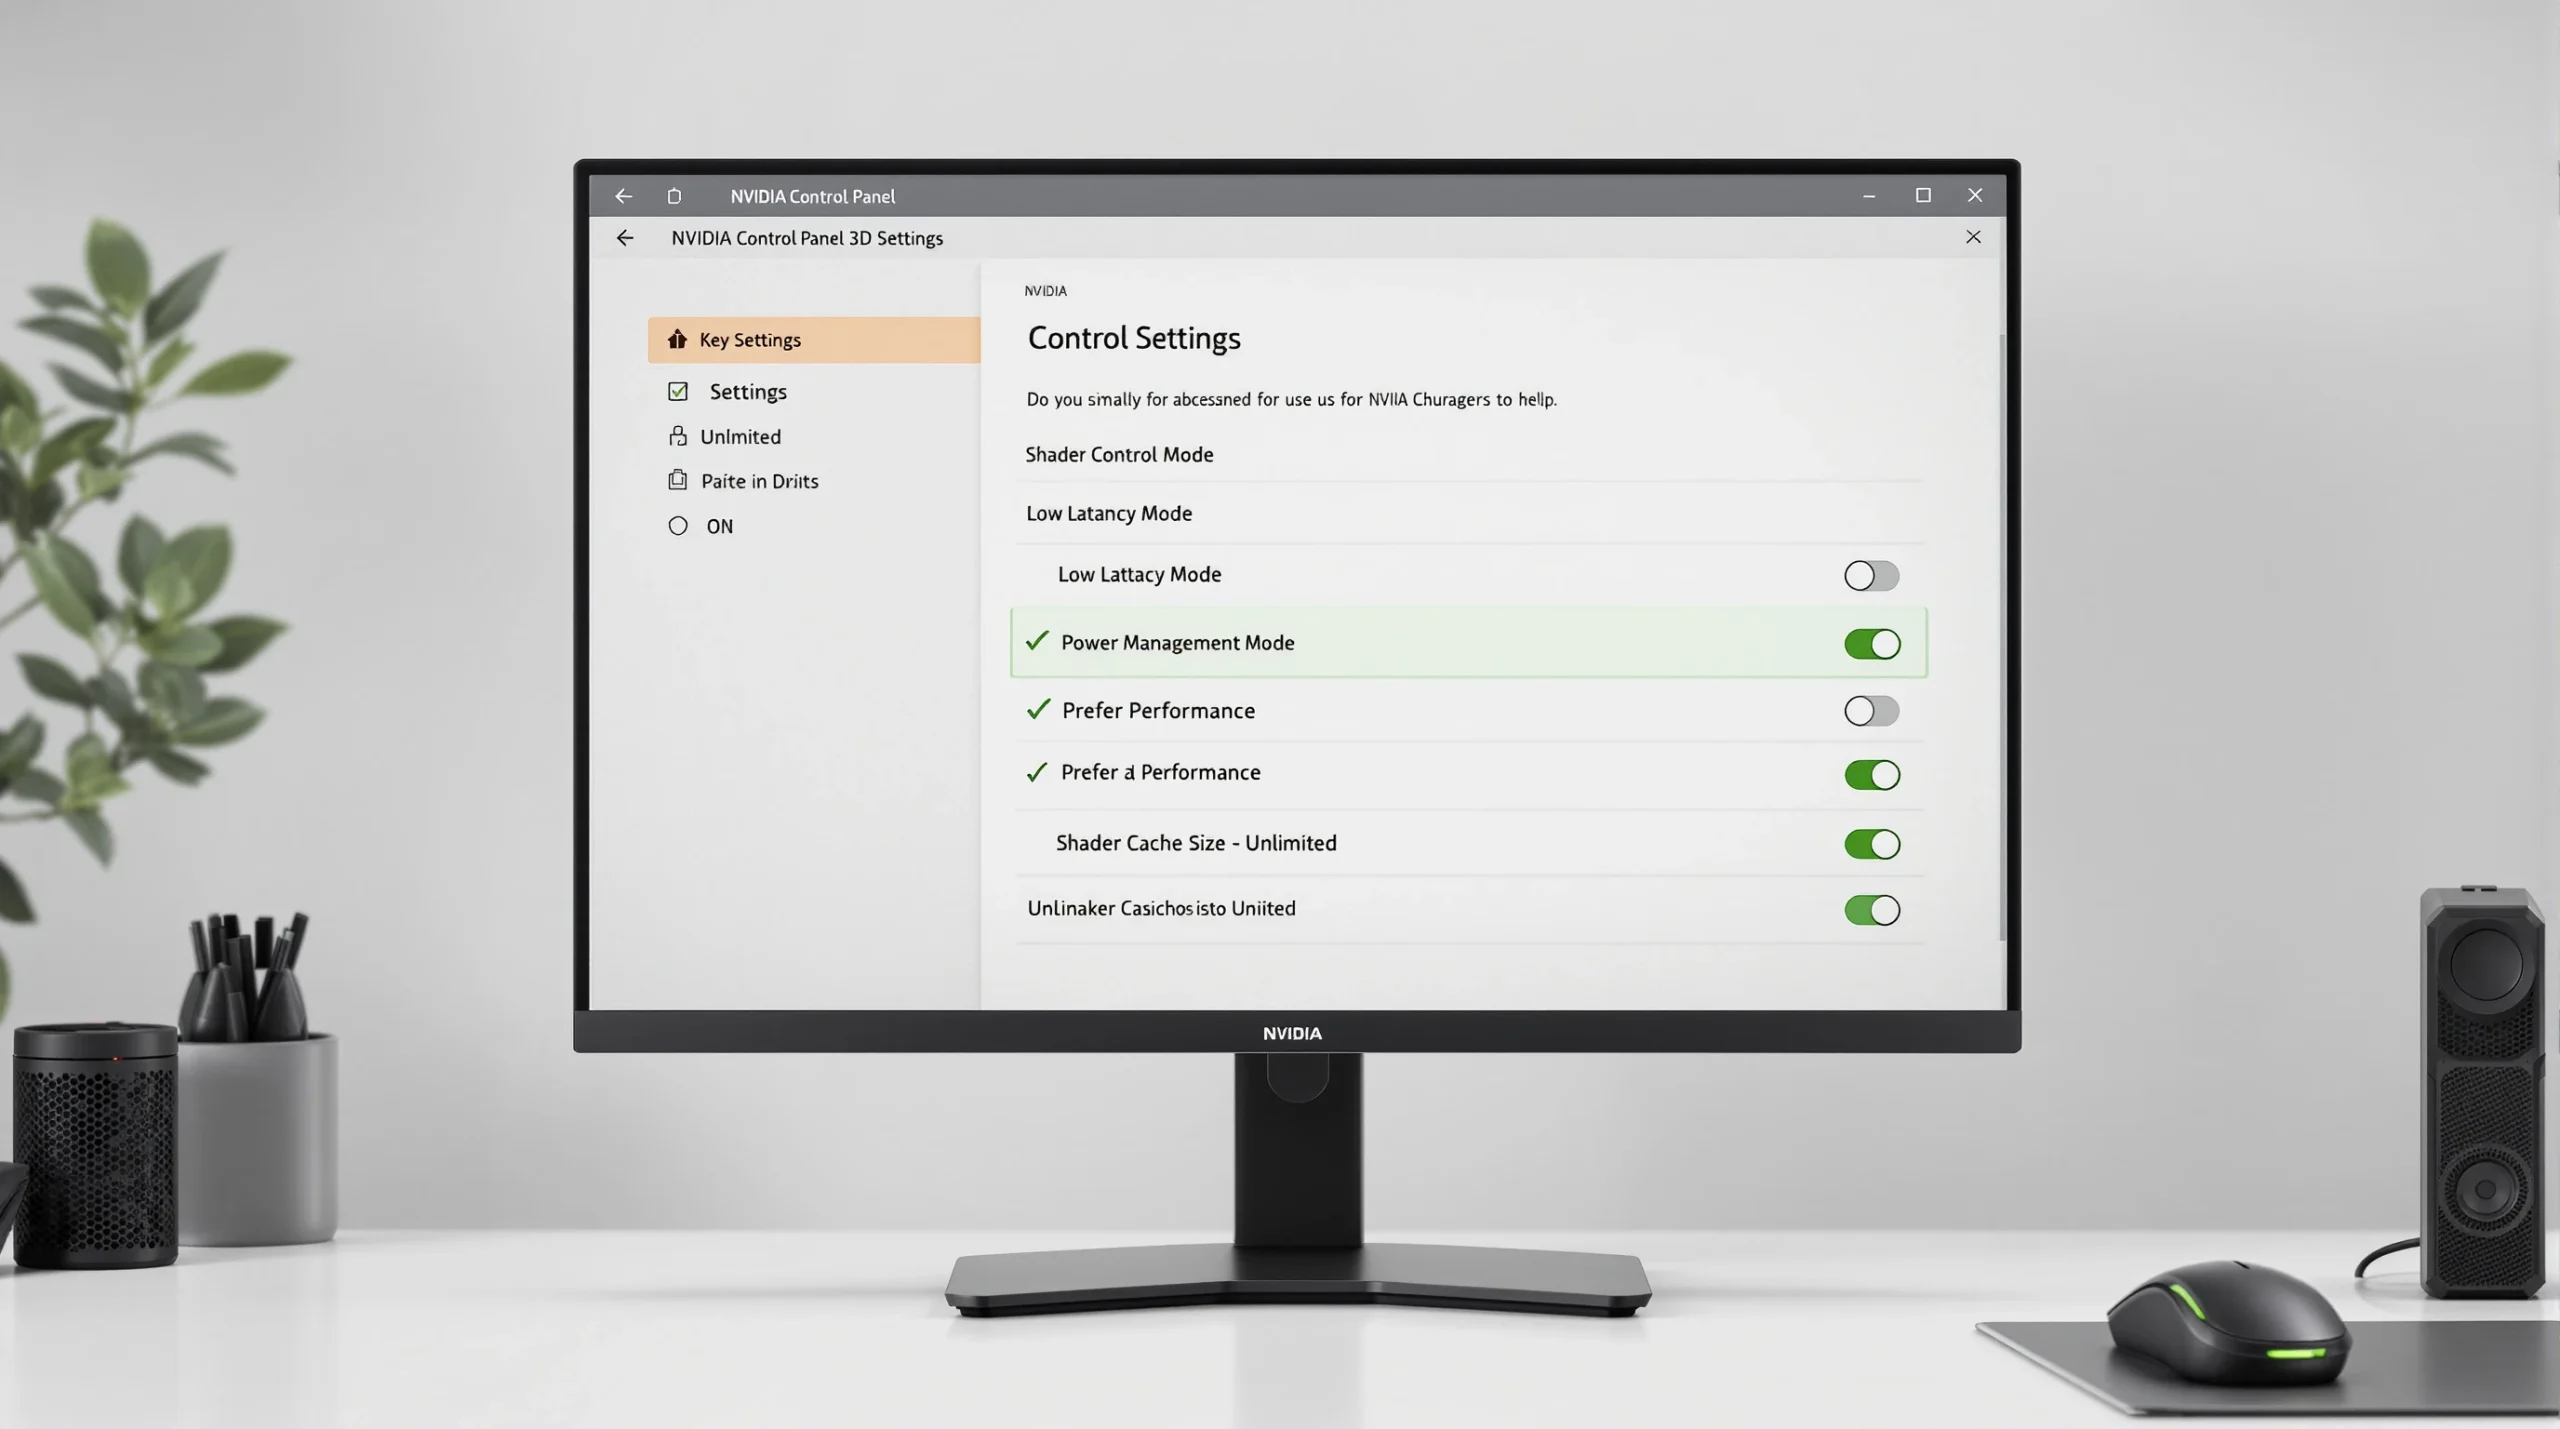
Low Latency Mode: Set to On (not Ultra). This limits the CPU pre-render queue to 1 frame, reducing input lag and frame time variance. Do not use Ultra unless you are in a competitive shooter and can maintain FPS well above your refresh rate — Ultra can cause stutters in CPU-bound scenarios because it restricts the render queue too aggressively.
Power Management Mode: Set to Prefer Maximum Performance. The default “Optimal Power” allows the GPU to downclock during lighter scenes, then boost during heavy ones. That clock speed transition causes micro-stutters. Maximum performance keeps clocks stable.
Threaded Optimization: Leave on Auto. This allows the driver to parallelize work across CPU threads. Forcing it On can cause issues in older games.
Shader Cache Size: Set to 10 GB or Unlimited (covered above, but worth repeating here).
Texture Filtering — Quality: Set to High Performance if you want maximum smoothness, or Quality if you prefer visual fidelity. Avoid “High Quality” — the visual difference is negligible but the performance cost is real.
V-Sync: Set to On globally (as part of the G-Sync setup described above). If you do not have a G-Sync monitor, set to Fast — this is NVIDIA’s implementation of adaptive V-Sync that tears only when your FPS exceeds the refresh rate.
AMD Adrenalin — The Settings That Actually Matter
Radeon Anti-Lag: Enable this. It works similarly to NVIDIA’s Low Latency Mode by reducing the render queue. In supported games, Anti-Lag+ goes further by synchronizing CPU and GPU work.
Radeon Chill: This is AMD’s frame rate management tool. Set the minimum to your target FPS and maximum to your refresh rate minus 3. It dynamically adjusts frame rate based on scene complexity, reducing heat and power draw while keeping frame pacing stable.
Surface Format Optimization: Enable. It reduces VRAM bandwidth usage with no visual impact.
Shader Cache: Reset it periodically after driver updates (AMD Software > Settings > Graphics > Perform Reset).
Windows-Level Fixes
Windows itself introduces more stuttering than most players suspect. Several features that Microsoft enables by default actively interfere with game performance.
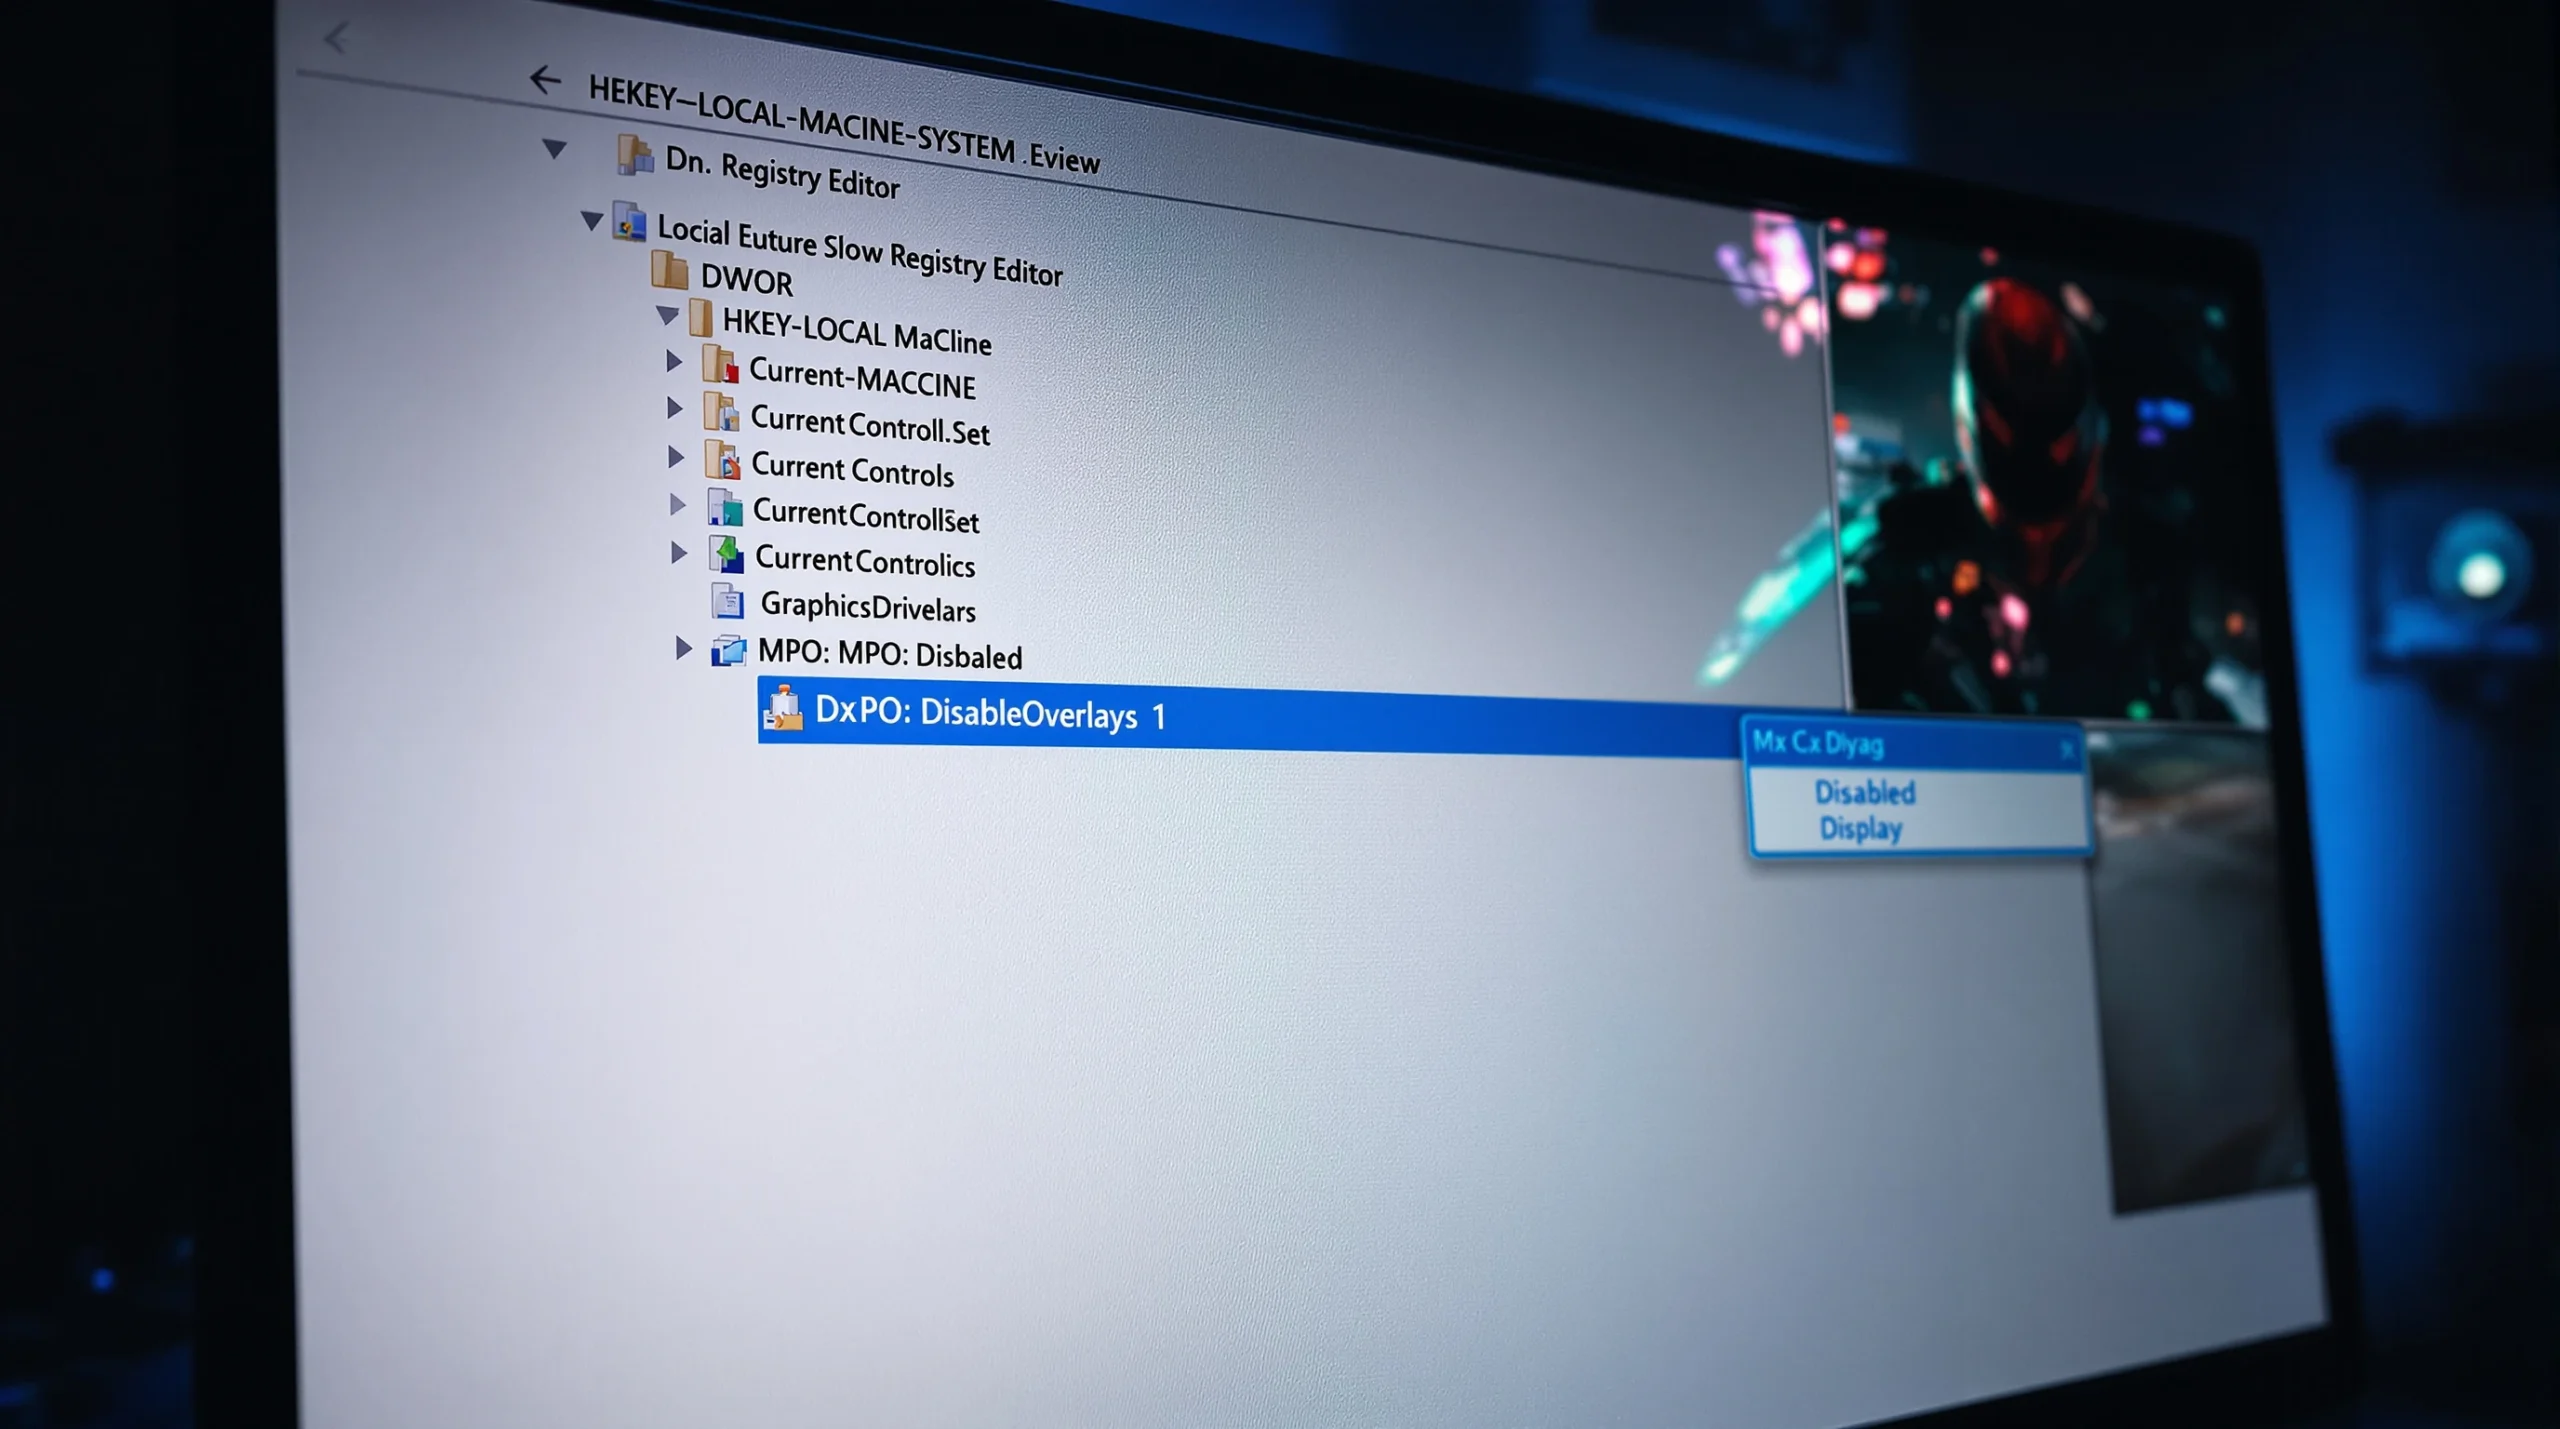
Disable Multi-Plane Overlay (MPO)
This is the single biggest Windows-related cause of micro-stutters, particularly on NVIDIA GPUs. MPO is a compositor feature that handles how different window layers are rendered. It causes frame time spikes in borderless fullscreen and windowed modes.
The diagnostic clue: if your stuttering disappears in exclusive fullscreen but returns in borderless, MPO is almost certainly the cause.
The fix for Windows 11 24H2 and 25H2 (current builds):
The old OverlayTestMode registry key no longer works. The correct method for 2026:
Press Win+R, type regedit, press Enter. Go to: HKEY_LOCAL_MACHINE\SYSTEM\CurrentControlSet\Control\GraphicsDrivers. Right-click the right pane > New > DWORD (32-bit) Value. Name it DisableOverlays. Double-click it, set value to 1. Restart your PC.
Verify it worked: press Win+R, type dxdiag, go to the Display tab, and check the MPO line under Driver Features. It should show “Not Supported” or “Disabled.”
Disable Hardware-Accelerated GPU Scheduling (in Some Cases)
HAGS was supposed to reduce latency by letting the GPU manage its own memory scheduling. In practice, it helps some systems and hurts others. If you experience periodic micro-stutters every few seconds, try disabling it:
Settings > System > Display > Graphics > Change default graphics settings > toggle off Hardware-accelerated GPU scheduling. Restart.
Test your games. If stuttering improves, leave it off. If no change, you can turn it back on.
Fix DPC Latency Issues
DPC (Deferred Procedure Call) latency is a measure of how quickly Windows processes hardware interrupts. High DPC latency causes audio pops, mouse stutters, and game hitches because the system takes too long to service hardware requests.
Download LatencyMon and run it for 5 minutes while your system is idle. If it reports problems, the usual culprits are:
Network drivers. Killer Networking and Realtek drivers are notorious. Update to the latest version or try the generic Windows driver.
Audio drivers. Realtek HD Audio drivers can cause massive DPC spikes. Update them, or try disabling audio enhancements: right-click the speaker icon > Sound settings > your output device > Additional settings > Advanced > uncheck “Enable audio enhancements.”
USB controllers. Badly behaving USB devices (cheap keyboards, webcams, DACs) can cause latency spikes. Unplug devices one by one to identify the offender.
Disable Fast Startup
Fast Startup does not fully shut down Windows — it hibernates the kernel session instead. This means driver states, memory allocations, and system configurations carry over between boots, accumulating issues over time.
Settings > System > Power > Additional power settings > Choose what the power buttons do > Change settings that are currently unavailable > uncheck “Turn on fast startup.” Then restart (not shut down — restart forces a full kernel reload).
Hardware-Level Fixes
Sometimes the problem is not software. These fixes address physical and configuration issues that software changes cannot solve.
Enable XMP/EXPO in BIOS
This is one of the most overlooked causes of stuttering. Most DDR4 and DDR5 RAM ships rated at speeds like 3200MHz, 3600MHz, or 6000MHz — but by default, your motherboard runs it at the base JEDEC speed (2133MHz for DDR4, 4800MHz for DDR5).
The difference is enormous. In CPU-bound games, enabling XMP (Intel) or EXPO (AMD) can improve 1% lows by 15-25%, which directly translates to fewer stutters.
Enter BIOS (usually Del or F2 at boot). Find the XMP or EXPO profile — it is typically on the main page or under OC/Tweaker settings. Enable it. Save and exit.
If your system becomes unstable after enabling XMP/EXPO, your RAM may not be on your motherboard’s QVL (Qualified Vendor List). Check your motherboard manufacturer’s website for compatible memory.
Check Your Storage Speed
Modern games stream assets constantly. If your storage cannot keep up, you get traversal stutter — hitches that happen when moving through the game world, entering new areas, or when the game loads new textures and geometry.
HDD: If you are gaming from a hard drive in 2026, this is almost certainly your problem. Mechanical drives cannot deliver the random read speeds that modern games require. Move your games to an SSD.
SATA SSD: Adequate for most games, but some 2026 AAA titles that use DirectStorage benefit from NVMe speeds. If you notice stuttering only in the newest open-world games, storage speed could be the bottleneck.
NVMe SSD: Check that it is installed in an M.2 slot that runs at full speed. Many motherboards have M.2 slots that share bandwidth with SATA ports or run at reduced PCIe lanes. Consult your motherboard manual.
Also check your drive health. A dying SSD will show increasing read latency long before it fails completely. Use CrystalDiskInfo to check SMART status.
Monitor Your Temperatures
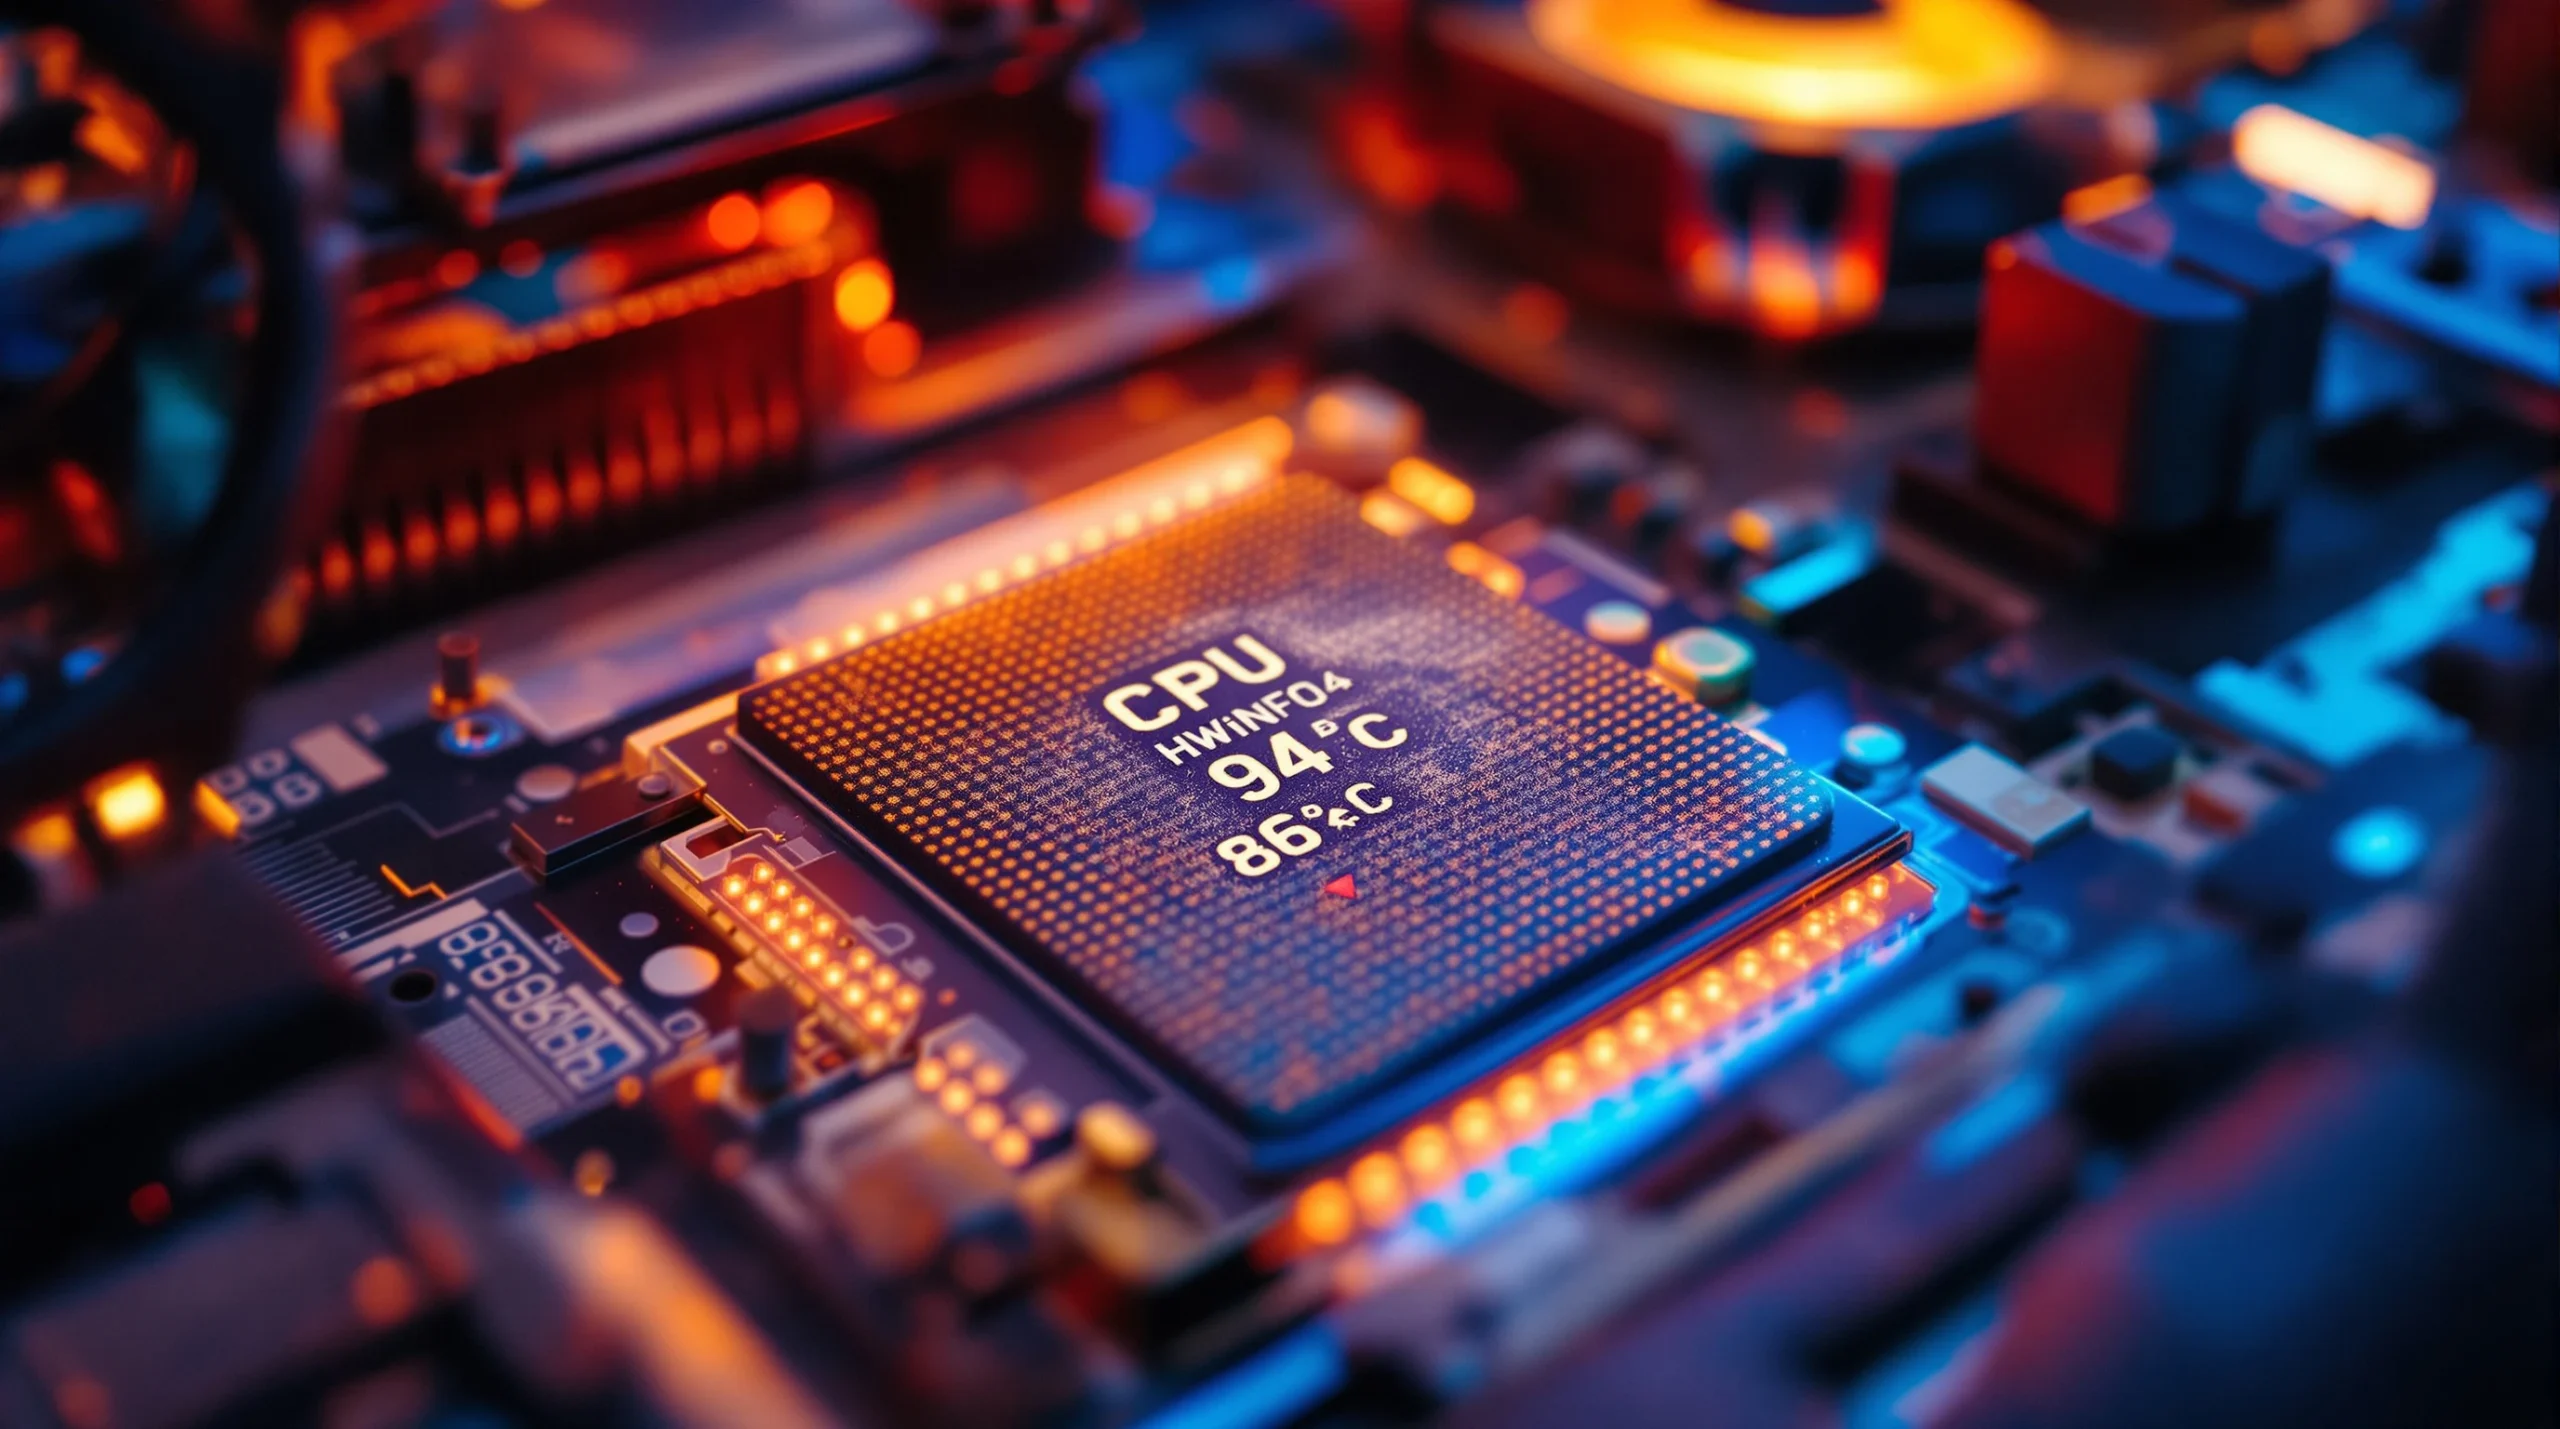
Thermal throttling is invisible to most monitoring tools unless you know where to look. Your CPU or GPU hits a temperature threshold and reduces clock speeds to prevent damage. That clock speed drop causes a frame time spike.
Install HWiNFO64 and run it in sensors-only mode while gaming for 15-20 minutes. Watch for:
CPU: Anything above 90°C is concerning. Above 95°C, most CPUs actively throttle. Look for “Thermal Throttling: Yes” in the CPU section.
GPU: Most GPUs throttle above 83-87°C depending on the model. Check the “Performance Limit — Thermal” row. If it shows “Yes” at any point during your session, heat is causing your stutters.
The fix depends on the cause: clean dust from heatsinks and fans, improve case airflow (front intake, rear/top exhaust), reapply thermal paste if your system is over 2-3 years old, or consider a better cooler if your current one is undersized for your CPU’s power draw.
Game-Specific and Engine-Specific Fixes
Different game engines have different stuttering characteristics. Knowing which engine your game uses helps you target the right fix.
Unreal Engine 5 Games
UE5 titles (Stalker 2, Black Myth Wukong, and many 2025-2026 releases) are notorious for shader compilation stutter. The engine uses Pipeline State Objects (PSOs) that get compiled at runtime when you encounter new rendering conditions.
What helps: Let the game build its shader cache by playing through different areas before judging performance. Many UE5 games now include a “Compiling Shaders” loading step at first launch — let it complete fully. Some games on Steam allow you to pre-download shader caches through Steam’s background processing (Steam > Settings > Shader Pre-Caching > Enable).
DX12 vs DX11: Most UE5 games default to DX12. If you experience severe compilation stutter, check if the game offers a DX11 option. DX11 compiles shaders upfront during loading screens rather than at runtime, trading longer load times for smoother gameplay. However, DX12 generally performs better once the cache is built.
If you are playing a demanding UE5 title and want to know how your system measures up, this guide on system requirements and performance expectations for modern PC games covers what current hardware can realistically handle.
DirectX 12 and Vulkan Frame Pacing
DX12 and Vulkan give developers more control over the GPU, but that also means more opportunities for bad frame pacing if the developer does not implement it correctly.
DX12 stutter in specific games: Some games have known DX12 frame pacing issues. Check PCGamingWiki (pcgamingwiki.com) for your specific game — it lists known issues and fixes, including launch arguments, config file tweaks, and recommended API settings.
Vulkan alternative: Some games offer both DX12 and Vulkan renderers. If DX12 stutters, try Vulkan. Doom Eternal, for example, runs smoother on Vulkan for many players. The reverse can also be true — test both.
VRAM and RAM Management
Running out of VRAM does not crash your game — it forces textures to swap between VRAM and system RAM, which is orders of magnitude slower. The result is severe stuttering whenever the game loads new textures.
How to check: Use MSI Afterburner or HWiNFO64 to monitor VRAM usage while gaming. If VRAM usage consistently hits 95-100% of your GPU’s capacity, lower texture quality settings first. Textures are the biggest VRAM consumers by far.
The 8 GB problem: In 2026, 8 GB of VRAM is increasingly tight for AAA games at high settings. If you have an 8 GB card (RTX 4060, RX 7600, etc.), you may need to run textures at Medium in the newest titles. This is not a software fix — it is a hardware limitation.
System RAM: 16 GB is the minimum for modern gaming. If you are running 16 GB and playing open-world games while keeping a browser or Discord open, you may be hitting RAM limits. Use Task Manager > Performance > Memory to check usage while gaming. If it consistently exceeds 14-15 GB, closing background apps or upgrading to 32 GB will help.
The Nuclear Option: Full Windows Reset
If you have tried everything above and still experience stuttering across all games, your Windows installation may have accumulated enough corruption, leftover drivers, broken registry entries, and conflicting software that incremental fixes cannot solve the problem.
Before doing this, make sure you have actually tried the fixes above — most players never need a full reset. But if your stuttering started after a major Windows update, a failed driver installation, or has gradually worsened over months with no clear cause, a clean install often resolves it entirely.
Use Windows’ built-in reset: Settings > System > Recovery > Reset this PC > Remove everything > Local reinstall. Reinstall your GPU driver with DDU (as described above), enable XMP/EXPO, configure your NVIDIA or AMD settings as outlined in this guide, and test before installing any other software.
Monitoring Tools You Should Actually Use
You cannot fix what you cannot see. These tools make frame time problems visible:
RTSS + MSI Afterburner: RTSS shows a real-time frame time graph as an overlay. This is far more useful than an FPS counter. Spikes in the graph correspond directly to the stutters you feel.
CapFrameX: Records frame time data and generates detailed analysis. Useful for comparing settings — change something, record a run, compare the frame time graphs.
HWiNFO64: Monitors CPU and GPU temperatures, clock speeds, power draw, and thermal throttling status. Essential for diagnosing hardware-related stutters.
LatencyMon: Identifies DPC latency issues caused by drivers. If you experience micro-stutters that happen even at the desktop, this tool will point you to the responsible driver.
When Multiplayer Games Stutter Differently
Stuttering in multiplayer games has an additional dimension: network-induced frame pacing issues. When a server correction arrives (a position update, a hit registration), the game client must reconcile its predicted state with the server’s authoritative state. That reconciliation can cause visible hitches even on a perfectly running PC.
This is not the same as lag or high ping. You can have 20ms ping and still experience network-related stutters if the game’s netcode handles reconciliation poorly. There is no client-side fix for bad netcode — but you can reduce its impact by ensuring your PC is not already struggling with frame pacing. A system that runs smoothly has more headroom to absorb network-induced hitches without you noticing them.
What VR Adds to the Problem
If you play VR games, frame timing is even more critical. A dropped frame in flatscreen gaming is a visual annoyance. A dropped frame in VR can cause motion sickness. VR headsets run at 90Hz or 120Hz and expect perfectly consistent frame delivery.
Everything in this guide applies to VR, but with tighter tolerances. The frame cap strategy changes — in VR, you typically want to hit your headset’s native refresh rate consistently rather than capping below it. If you cannot maintain 90 FPS, enable ASW (Asynchronous SpaceWarp) on Meta headsets or Motion Smoothing on SteamVR headsets. These reprojection technologies synthesize intermediate frames, and while they are not perfect, they are better than dropped frames.
The Honest Truth About Stuttering
Some stuttering cannot be fixed. A game with poor shader management will stutter during compilation no matter what hardware you throw at it. A game with bad DX12 implementation will have frame pacing issues until the developer patches it. A system with 8 GB of VRAM will struggle with 2026 AAA titles at max settings, and no software tweak changes the physics of memory bandwidth.
What you can do is eliminate every variable that is within your control. The fixes in this guide, applied methodically from top to bottom, will resolve the problem for the vast majority of players. Start with the quick fixes — frame capping and shader cache clearing alone solve most cases. Move to driver and Windows fixes only if needed. Hardware fixes are the last resort.
The goal is not a perfectly flat frame time graph. The goal is frame delivery consistent enough that your eyes and brain stop noticing the gaps. For most people, that means eliminating spikes above 2x your target frame time. If you are targeting 16.6ms frames (60 FPS) and your worst spikes drop to 20ms instead of 50ms, you will feel the difference immediately.
Smooth gaming is not about having the most powerful PC. It is about having a well-configured one.


